This article provides a comprehensive guide on replacing the headlight in a Honda Accord. Whether you’re a seasoned DIY enthusiast or a beginner, this step-by-step process will ensure you successfully complete the task with confidence.
Understanding the significance of headlight replacement is crucial for maintaining road safety. Dimming headlights can severely impair your visibility at night or during inclement weather, leading to dangerous driving conditions. Timely replacement not only enhances your safety but also ensures compliance with traffic regulations.
Recognizing the signs of a failing headlight can save you from unexpected issues on the road. Common indicators include:
- Flickering lights: This may indicate a loose connection.
- Dim illumination: A clear sign that the bulb is nearing the end of its life.
- Complete failure: If your headlight does not turn on at all, it’s time for a replacement.
Before starting the replacement process, gather the following essential tools:
- Screwdriver: For removing any screws or clips.
- Socket wrench: To unscrew any bolts holding the headlight assembly.
- Gloves: To protect your hands and avoid touching the bulb directly.
Following a systematic approach will simplify the headlight replacement process. Here’s how to do it:
Ensure that your Honda Accord is parked on a level surface, and turn off the engine. This step is vital for your safety.
To access the headlight assembly, you may need to remove the cover or grille, depending on your model year. Consult your owner’s manual for specific instructions.
Carefully disconnect the old headlight bulb from its socket. Handle it gently to avoid breaking it, which could damage the assembly.
When installing the new headlight bulb, ensure it is correctly aligned and securely fitted. This is crucial for optimal light output.
Being aware of common pitfalls can prevent complications during the replacement process. Avoid:
- Touching the glass of the new bulb, as oils from your skin can cause it to burn out prematurely.
- Forgetting to secure all connections, which can lead to malfunctioning headlights.
Regular maintenance of your headlights can extend their lifespan. Consider the following tips:
- Clean the lenses: Use a gentle cleaner to remove any grime or fogging.
- Check alignment: Ensure your headlights are properly aligned to maximize visibility.
Sometimes, professional assistance is necessary. If you encounter complications that seem beyond your skill level, consulting a mechanic can save time and ensure proper installation.
Understanding the costs associated with headlight replacement can help you budget accordingly. Prices can vary based on the type of bulb and whether you opt for DIY or professional services. On average, you might expect to pay:
- DIY Replacement: $20-$100 for bulbs.
- Professional Service: $100-$200, including labor.
In conclusion, replacing the headlight in your Honda Accord is a manageable task that can greatly enhance your driving safety. With the right tools and guidance, you can ensure that your vehicle remains in top condition.

Why Replace Your Honda Accord Headlight?
When it comes to driving, safety is paramount, and one of the crucial components that contribute to this safety is your vehicle’s headlights. Understanding the importance of headlight replacement goes beyond mere convenience; it is essential for ensuring optimal visibility on the road. Over time, headlights can dim, become cloudy, or even burn out completely, leading to potentially dangerous driving conditions.
Dim or failing headlights can significantly impair your ability to see the road ahead, especially during nighttime or inclement weather. It is vital to recognize that timely headlight replacement can prevent accidents and enhance your overall driving experience. Here are some key reasons why you should prioritize headlight replacement for your Honda Accord:
- Enhanced Visibility: Bright, functioning headlights illuminate the road, allowing you to see obstacles, road signs, and pedestrians clearly. This visibility is crucial for making informed driving decisions.
- Increased Safety: Driving with dim headlights increases the risk of accidents. Studies have shown that well-lit roads can reduce nighttime crash rates by up to 50%. Therefore, ensuring your headlights are in good working condition is a critical safety measure.
- Legal Compliance: Many regions have laws requiring vehicles to have functioning headlights. Driving with a burnt-out bulb can lead to fines or penalties. Regularly checking and replacing your headlights ensures compliance with local regulations.
- Improved Aesthetic Appeal: New headlights not only provide functional benefits but also enhance the overall look of your vehicle. Clear, bright headlights can make your Honda Accord appear well-maintained and more attractive.
In addition to these reasons, paying attention to the signs of failing headlights can help you avoid unexpected issues on the road. Common indicators include:
- Flickering Lights: If your headlights flicker or pulse, it may indicate a loose connection or a failing bulb.
- Dim Illumination: A noticeable decrease in brightness is a clear sign that your headlights need replacement.
- Complete Failure: If one or both of your headlights are out, it is imperative to replace them immediately to ensure safe driving conditions.
Before embarking on a headlight replacement, it’s essential to gather the right tools, such as a screwdriver and gloves, to facilitate a smooth process. Following a systematic approach will help ensure that you replace your headlights correctly, enhancing both safety and visibility.
In conclusion, the importance of replacing your Honda Accord headlights cannot be overstated. By ensuring that your headlights are bright and functioning, you contribute to safer driving conditions for yourself and others on the road. Regular maintenance and timely replacements will not only keep you safe but also enhance the overall performance of your vehicle.
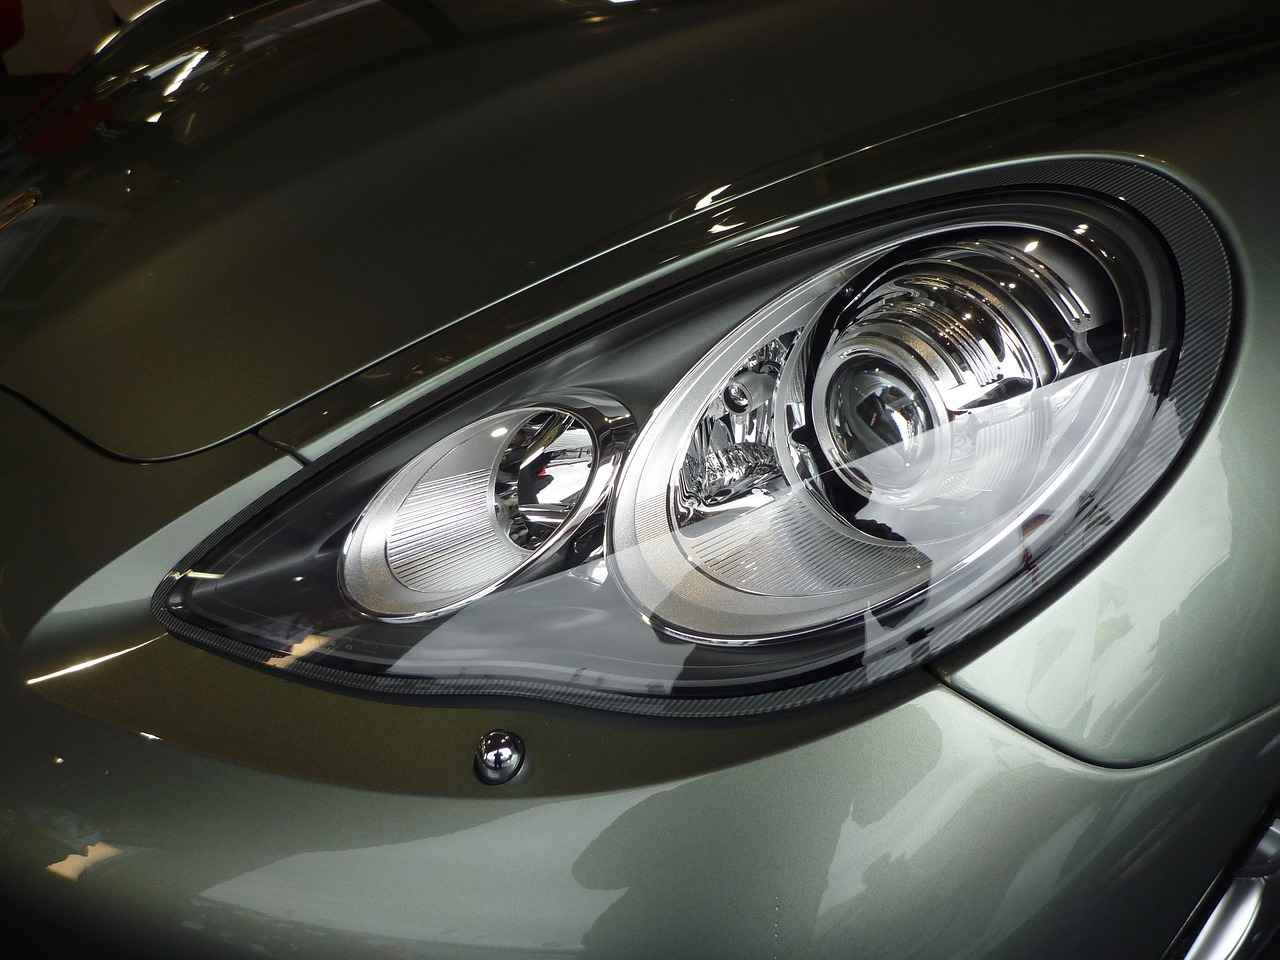
Signs of a Failing Headlight
When it comes to vehicle safety, headlights play a crucial role in ensuring visibility during nighttime driving and adverse weather conditions. Recognizing the is essential to avoid potential hazards on the road. Ignoring these signs can lead to reduced visibility, increasing the risk of accidents. Below are the common indicators that your headlights may be failing.
- Flickering Lights: If your headlights flicker or blink intermittently, it may indicate a problem with the bulb or electrical connections. This can be distracting and dangerous, especially at night.
- Dim Illumination: If you notice that your headlights are not as bright as they used to be, it’s a clear sign that they may need replacement. Dimming lights can significantly impair your ability to see the road ahead.
- Complete Failure: A headlight that has completely stopped working is an obvious sign that it needs to be replaced. Driving with one headlight out can be illegal in some areas and poses a safety risk.
- Cloudy or Yellowed Lenses: Over time, the plastic lens covering your headlights can become cloudy or yellowed due to exposure to UV rays and road debris. This can reduce the effectiveness of your headlights, making it difficult to see at night.
- Inconsistent Light Output: If one headlight appears brighter than the other, it could indicate a failing bulb or a problem with the electrical system. This inconsistency can be disorienting for both you and oncoming drivers.
Addressing headlight issues promptly is vital for several reasons:
- Safety: Properly functioning headlights are essential for safe driving. They help you see the road and allow other drivers to see you.
- Legal Compliance: Many jurisdictions have laws requiring both headlights to be operational. Driving with a malfunctioning headlight can result in fines.
- Preventing Further Damage: Ignoring a failing headlight can lead to damage to the electrical system or other components of your vehicle.
If you experience any of these signs, it’s important to take action:
1. Inspect the headlight bulb and wiring for any visible damage.2. Replace the bulb if necessary; always consult your vehicle's manual for the correct type.3. Clean the headlight lenses to enhance visibility.4. If issues persist, seek professional assistance to diagnose potential electrical problems.
Staying vigilant about the condition of your headlights can greatly enhance your driving experience and safety. Regular checks can help you catch problems early, ensuring that you remain safe on the road.
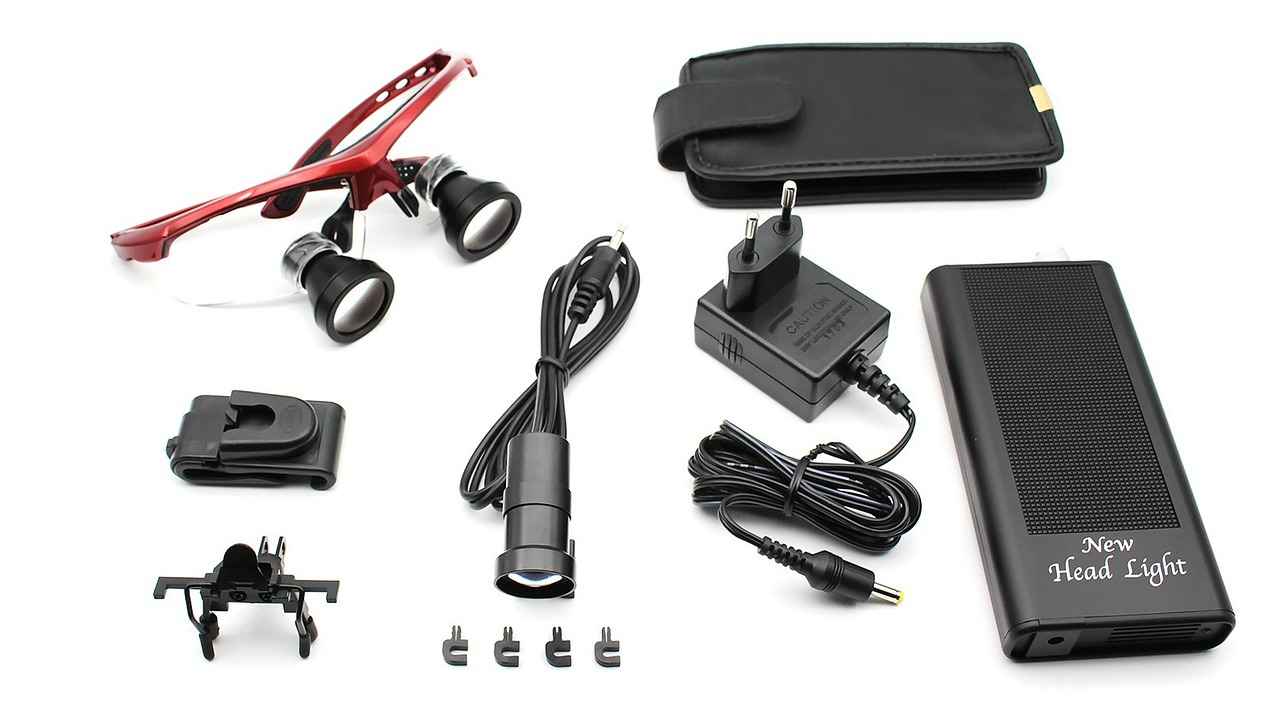
Tools Needed for Headlight Replacement
Replacing the headlight in your Honda Accord can be a straightforward task if you have the right tools and preparation. Before diving into the replacement process, it is crucial to gather all the necessary equipment to ensure a safe and efficient experience. Below, we outline the essential tools you will need for a successful headlight replacement.
- Screwdriver: A flathead or Phillips screwdriver is essential for removing screws that hold the headlight assembly in place. Ensure you have the right type to avoid stripping the screws.
- Socket Wrench: This tool is necessary for loosening and removing bolts that secure the headlight. A socket wrench with the correct size socket will make the task easier and quicker.
- Gloves: Wearing gloves is important to protect your hands from sharp edges and to avoid transferring oils from your skin onto the new headlight bulb, which can shorten its lifespan.
- Towel or Cloth: Keeping a clean towel or cloth handy can help you wipe any dirt from the headlight assembly before installation, ensuring a proper fit and function.
- Flashlight: A flashlight can be invaluable for illuminating dark spaces under the hood, especially if you are working in low light conditions.
- Safety Glasses: Protecting your eyes from debris and sharp objects is essential during the replacement process, so wearing safety glasses is highly recommended.
Using the right tools not only simplifies the headlight replacement process but also minimizes the risk of damaging your vehicle. For instance, using a screwdriver that fits properly will prevent stripping screws, while a socket wrench allows for better torque control when removing bolts. Additionally, wearing gloves can prevent injuries and ensure that your new bulb remains clean and functional.
Before you begin the replacement, make sure your Honda Accord is parked on a level surface and that the engine is turned off. This will ensure safety while you work and prevent any accidental electrical issues. Check to see that you have all the tools listed above within reach so that you can complete the task without interruptions.
- Read the owner’s manual for your specific Honda Accord model to understand any unique requirements for headlight replacement.
- Consider taking photos of the existing setup before disassembly to serve as a reference when installing the new headlight.
- Double-check all connections and fittings before closing everything up to ensure proper functionality.
By gathering the right tools and following these tips, you will be well-prepared for the headlight replacement process. This preparation not only enhances your efficiency but also contributes to a safer driving experience.
Step-by-Step Guide to Replace Headlight
Replacing a headlight in your Honda Accord can seem daunting, but following a systematic approach will greatly simplify the process. This section provides a comprehensive step-by-step guide to ensure a successful installation, making it easier for you to tackle this DIY project with confidence.
To start, it’s essential to gather the necessary tools and materials. You will need:
- Screwdriver (flathead and Phillips)
- Socket wrench with the appropriate size socket
- New headlight bulb compatible with your Honda Accord
- Gloves to protect your hands
- Safety glasses for eye protection
Now, let’s dive into the detailed steps:
Step 1: Prepare Your Vehicle1. Turn off the engine and ensure the vehicle is parked on a level surface.2. Engage the parking brake to prevent any movement during the process.
Step 2: Access the Headlight Assembly1. Open the hood of your Honda Accord.2. Locate the headlight assembly; you may need to remove the cover or grille depending on the model year.3. If necessary, consult your vehicle's manual for specific instructions on accessing the headlight assembly.
Step 3: Remove the Old Headlight Bulb1. Locate the wiring harness connected to the back of the headlight bulb.2. Gently disconnect the wiring harness by pressing the release tab and pulling it away.3. Twist the old bulb counterclockwise and carefully remove it from the assembly.
Step 4: Install the New Headlight Bulb1. Take your new headlight bulb out of the packaging, avoiding contact with the glass to prevent damage.2. Insert the bulb into the assembly, aligning it properly.3. Twist the bulb clockwise to secure it in place.4. Reconnect the wiring harness, ensuring it clicks into position.
After completing these steps, it’s important to test the new headlight. Turn on your vehicle and check that the light is functioning correctly. If everything looks good, close the hood and admire your handiwork!
Being aware of common mistakes can help you avoid complications during the replacement process. For instance, avoid touching the glass of the new bulb with your bare hands, as oils from your skin can cause it to burn out prematurely. Additionally, ensure that all connections are secure to prevent flickering or failure.
Regular maintenance can prolong the life of your headlights. Cleaning the lenses and checking the alignment periodically can enhance visibility and performance. If you notice any signs of failing headlights, such as flickering or dimming, it’s crucial to replace them promptly.
Sometimes, professional assistance is necessary. If you encounter complications or feel unsure about any step, don’t hesitate to consult a mechanic. They can provide expert guidance and ensure proper installation, saving you time and potential frustration.
Understanding the cost associated with headlight replacement can help you budget accordingly. Prices vary based on bulb type and whether you choose to do it yourself or hire a professional. Generally, DIY replacements are more cost-effective, but always factor in your comfort level with performing the task.
In summary, replacing your Honda Accord headlight doesn’t have to be a challenging task. By following these steps and taking the necessary precautions, you can successfully complete the job and ensure your vehicle remains safe and visible on the road.
Step 1: Prepare Your Vehicle
When it comes to maintaining your Honda Accord, preparing your vehicle for a headlight replacement is a crucial first step. This not only ensures your safety but also makes the entire process smoother and more efficient. Here’s how to properly prepare your vehicle before diving into the replacement.
- Turn Off the Engine: Always start by turning off the engine. This is essential not only for your safety but also to prevent any electrical shorts while you are working on the headlight assembly.
- Engage the Parking Brake: To prevent any accidental movement, make sure to engage the parking brake. This will keep your Honda Accord securely in place while you work.
- Park on a Level Surface: Ensuring that your vehicle is parked on a level surface is vital. This not only enhances your safety but also provides easier access to the headlight assembly.
- Gather Necessary Tools: Before starting, gather all the tools you will need for the replacement. Common tools include a screwdriver, socket wrench, and gloves. Having everything on hand will save you time and frustration.
- Check the Weather: If you are working outdoors, consider the weather conditions. Avoid working in rain or extreme temperatures, as these can affect your ability to work safely and efficiently.
By following these preparatory steps, you set the stage for a successful headlight replacement. Not only does this process improve your visibility on the road, but it also enhances your overall driving experience.
Remember, safety first. Taking the time to prepare your vehicle adequately will help prevent accidents and ensure that your new headlights function correctly. Once you’ve completed these steps, you’ll be ready to move on to accessing the headlight assembly and replacing the bulb.
In the next section, we will discuss how to access the headlight assembly in your Honda Accord, which is crucial for the replacement process. Stay tuned for more detailed instructions!
Step 2: Access the Headlight Assembly
Accessing the headlight assembly is a critical step in the headlight replacement process for your Honda Accord. Depending on the model year and specific design, the method to reach the assembly may vary significantly. Understanding these differences is key to a successful replacement.
In most cases, you will need to remove the cover or the grille to gain access to the headlight assembly. This may seem straightforward, but there are several factors to consider:
- Model Year Variations: Different model years may have unique configurations. For example, some newer models may have a more streamlined design that requires less disassembly, while older models might involve more intricate steps.
- Tools Required: Before you start, ensure you have the right tools on hand. A screwdriver and a socket wrench are typically necessary. Some models may also require a torque wrench for specific screws.
- Safety Precautions: Always make sure the vehicle is turned off and parked on a level surface. Wear gloves to protect your hands and avoid touching the new bulb with bare fingers, as oils from your skin can damage it.
To begin accessing the headlight assembly, follow these steps:
- Open the Hood: Start by opening the hood of your Honda Accord. This will give you the necessary space to work.
- Locate the Headlight Assembly: Identify the headlight assembly, which is typically situated at the front corners of the vehicle.
- Remove the Cover or Grille: Depending on your model, you may need to unclip or unscrew the cover or grille. Carefully set these parts aside to avoid damage.
- Check for Additional Fasteners: Some models may have additional fasteners or clips securing the headlight assembly in place. Make sure to remove these as well.
Once you have successfully accessed the headlight assembly, you can proceed with removing the old bulb and installing the new one. It is essential to handle all components with care, as improper handling can lead to damage or misalignment.
Remember to consult your Honda Accord’s owner manual for specific instructions related to your model year. This document can provide invaluable insights into the assembly’s design and any peculiarities that may affect the replacement process.
By following these steps, you can ensure that you access the headlight assembly correctly and efficiently, paving the way for a successful headlight replacement.
Step 3: Remove the Old Headlight Bulb
Replacing the headlight bulb in your Honda Accord is a straightforward task that can significantly enhance your driving safety. One of the most critical steps in this process is removing the old headlight bulb. This step requires careful attention to detail to ensure that you do not damage the headlight assembly or injure yourself in the process.
When you remove the old headlight bulb, you must handle it with care. Many drivers underestimate the fragility of these components. A broken bulb can lead to small glass shards that may cause injuries or damage the headlight assembly. Therefore, being cautious during this step is essential.
- Turn Off the Vehicle: Always ensure that the engine is off and the keys are removed from the ignition. This prevents any electrical mishaps.
- Allow the Bulb to Cool: If your headlights were recently in use, give them time to cool down. Hot bulbs can cause burns or lead to breakage during removal.
- Locate the Headlight Assembly: Depending on the model year of your Honda Accord, you may need to remove a cover or grille to access the headlight assembly. Refer to your owner’s manual for specific instructions.
- Disconnect the Power Connector: Gently pull the power connector away from the bulb. Be cautious not to yank too hard, as this can damage the wiring.
- Remove the Bulb: Depending on the type of bulb used in your Honda Accord, you may need to twist or pull the bulb out of its socket. Use a gentle rocking motion to avoid putting undue stress on the assembly.
When handling the old bulb, consider wearing gloves. This not only protects your hands but also prevents oils from your skin from transferring onto the new bulb. If you accidentally touch the glass of the new bulb, it’s advisable to clean it with a lint-free cloth and some isopropyl alcohol before installation.
In the unfortunate event that the bulb breaks during removal, do not panic. Carefully use a pair of needle-nose pliers to remove any remaining glass pieces. Always ensure you’re wearing gloves during this process to protect your hands from cuts.
Removing the old headlight bulb is a critical step in the headlight replacement process. By following these steps and tips, you can ensure a smooth transition to installing your new bulb. Remember, taking your time and being cautious can save you from potential headaches down the road.
Step 4: Install the New Headlight Bulb
Replacing the headlight in your Honda Accord is a straightforward process, but it requires careful attention to detail, especially during the installation of the new headlight bulb. In this section, we will delve into the critical aspects of installing the new headlight bulb effectively to ensure optimal performance and safety on the road.
Proper installation of your new headlight bulb is essential for several reasons. First and foremost, a securely fitted bulb ensures that the light output is directed correctly, enhancing visibility during nighttime driving or poor weather conditions. Misalignment can lead to glare for oncoming drivers and may fail to illuminate the road adequately, increasing the risk of accidents.
Follow these steps to ensure a successful installation:
- Step 1: Prepare the New Bulb – Before handling the new bulb, make sure to wear gloves. This prevents the natural oils from your skin from getting onto the bulb, which can cause it to burn out prematurely.
- Step 2: Align the Bulb – Carefully align the new bulb with the headlight assembly. Look for any notches or tabs that will guide you in positioning the bulb correctly.
- Step 3: Secure the Bulb – Gently push the bulb into the socket until you hear a click, indicating it is securely in place. Ensure that it is not loose, as this can lead to flickering lights or complete failure.
- Step 4: Test the Headlight – Before reassembling any covers or grilles, turn on your headlights to check that the new bulb is functioning correctly. This step is crucial to confirm that the installation was successful.
During the installation process, be mindful of common mistakes:
- Improper Alignment: If the bulb is not aligned correctly, it can lead to poor light distribution.
- Loose Connections: Ensure all connections are tight to avoid flickering or malfunctioning lights.
- Touching the Glass: Avoid touching the glass part of the bulb, as oils from your fingers can create hot spots and lead to early failure.
Once everything is installed, conduct a final inspection. Make sure all parts are reattached securely, and the headlight is functioning as intended. Proper installation not only enhances your visibility but also contributes to overall road safety.
By following these guidelines, you can confidently replace your Honda Accord’s headlight bulb. Remember, attention to detail during installation is key to ensuring that your new bulb performs optimally and lasts as long as possible.
Common Mistakes to Avoid
Replacing the headlight in your Honda Accord can be a straightforward task, but it is essential to be aware of common mistakes that can lead to complications. By understanding these pitfalls, you can ensure a smooth replacement process and maintain optimal visibility on the road.
Being cautious during the headlight replacement process is crucial for several reasons. First, mistakes can lead to improper installation, which may result in inadequate lighting or even damage to the headlight assembly. Second, mishandling components can lead to additional costs and time spent on repairs. Therefore, being informed about potential errors is key to a successful DIY project.
One of the most common mistakes is touching the glass of the new headlight bulb with bare hands. The oils from your skin can create hot spots on the glass, which may cause the bulb to burn out prematurely. Always use gloves or a clean cloth when handling the bulb to avoid this issue.
Another frequent oversight is not ensuring that all connections are secure. Loose connections can lead to flickering lights or complete failure of the headlight. After installing the new bulb, double-check that all connectors are firmly attached and that there are no signs of corrosion on the terminals.
After replacing the headlight, it’s essential to check the alignment. Misaligned headlights can blind oncoming drivers and reduce your visibility. If you notice that your headlights are not aimed correctly, you may need to adjust them according to your vehicle’s specifications.
Many DIYers skip the owner’s manual, assuming they know how to proceed. However, the manual often contains specific instructions tailored to your Honda Accord’s model year. Consulting the manual can provide valuable insights on the correct procedure for your vehicle, including any unique tools or techniques required.
Safety should always be a priority when working on your vehicle. Ensure that the engine is off and the keys are removed from the ignition before starting the replacement process. Additionally, it is wise to wear safety goggles and gloves to protect yourself from any debris or sharp edges.
After installation, it’s vital to test the new bulb before reassembling everything. Turn on the headlights to ensure they function correctly. This step can save you time and frustration, as you can address any issues immediately rather than after everything is put back together.
By being aware of these common mistakes, you can enhance your headlight replacement experience and ensure that your Honda Accord remains safe and roadworthy. Taking the time to follow proper procedures and avoid these pitfalls will not only save you time and money but also improve your overall driving safety.

Maintenance Tips for Headlights
Maintaining your vehicle’s headlights is crucial for safety and visibility on the road. Regular upkeep not only ensures that your lights function effectively but also extends their lifespan, saving you time and money in the long run. In this section, we will explore essential maintenance tips for headlights that every Honda Accord owner should know.
Headlights are vital for safe driving, especially at night or in adverse weather conditions. Dim or malfunctioning headlights can significantly reduce your visibility, increasing the risk of accidents. Therefore, regular maintenance is not just a good practice; it is essential for your safety and that of others on the road.
Over time, headlight lenses can become cloudy or yellowed due to exposure to UV rays and environmental contaminants. Cleaning your headlights can dramatically improve their brightness. Here’s how:
- Use a headlight restoration kit or a mixture of baking soda and vinegar.
- Apply the solution to the lens using a soft cloth.
- Rinse with water and dry thoroughly.
This simple cleaning process can enhance light output and improve your vehicle’s appearance.
Proper alignment of headlights is crucial for optimal performance. Misaligned headlights can blind oncoming drivers and reduce your visibility. To check alignment:
- Park your Honda Accord on a level surface facing a wall.
- Turn on the headlights and observe the light pattern on the wall.
- The cutoff line should be even and not too high or low.
If you find that your headlights are misaligned, consult your vehicle’s manual for adjustment instructions or seek professional assistance.
Headlight bulbs have a limited lifespan, and waiting too long to replace them can lead to reduced visibility. Check your headlights regularly for dimming or flickering, which are signs that a bulb may need replacement. Always replace bulbs in pairs to ensure even lighting.
Faulty wiring or loose connections can lead to headlight failure. Regularly inspect the wiring harness for signs of wear or damage. Ensure that all connections are tight and free from corrosion. If you notice any issues, it may be necessary to consult a professional.
Applying a protective coating to your headlights can help shield them from UV damage and environmental factors. Consider using a UV sealant designed specifically for headlights, which can help maintain clarity and brightness over time.
If you encounter persistent issues with your headlights despite regular maintenance, it may be time to consult a professional. Mechanics can diagnose electrical issues or other underlying problems that may not be apparent during routine checks.
In conclusion, maintaining your Honda Accord’s headlights is an essential aspect of vehicle care. By following these maintenance tips, you can ensure that your headlights remain bright and functional, enhancing your safety and driving experience.
When to Seek Professional Help
When it comes to maintaining your vehicle, understanding when to seek professional help is crucial. While many car repairs and maintenance tasks can be undertaken as DIY projects, some situations require the expertise of a professional mechanic. This is especially true for complex issues that could potentially lead to safety hazards or further damage if not addressed properly.
There are several reasons why you might consider consulting a mechanic rather than attempting a repair on your own. Experience plays a significant role; professional mechanics have the training and knowledge to diagnose problems accurately. They can also identify underlying issues that might not be immediately apparent to the average car owner.
- Unusual Noises: If your car is making strange sounds, such as grinding or squealing, it could indicate a serious issue.
- Warning Lights: Dashboard warning lights should never be ignored. They often signal that something needs immediate attention.
- Fluid Leaks: Seeing puddles of fluid under your vehicle can indicate a leak that requires professional repair.
- Performance Issues: If your car is struggling to accelerate or has difficulty steering, it’s time to consult a mechanic.
One of the main benefits of consulting a mechanic for tasks like headlight replacement is the assurance of proper installation. Mechanics have access to specialized tools and equipment that can make the job easier and more efficient. They also understand the nuances of different car models, which can be particularly helpful if your Honda Accord has specific requirements for headlight installation.
While hiring a mechanic may seem like a more expensive option, it can actually save you money in the long run. Improper installation or DIY mistakes can lead to further damage, resulting in more costly repairs down the line. By investing in professional services, you can ensure that the job is done correctly the first time.
In today’s fast-paced world, time is a valuable commodity. If you’re unsure about your ability to complete a repair or if you’re facing a tight deadline, seeking professional help can save you significant time. A mechanic can quickly diagnose the problem and perform the necessary repairs, allowing you to get back on the road without unnecessary delays.
Finally, one of the most significant advantages of consulting a mechanic is the peace of mind it provides. Knowing that your vehicle is in the hands of an expert can alleviate stress and anxiety about potential issues. You can trust that the repairs will be done correctly, ensuring your safety and the safety of others on the road.
In conclusion, while DIY repairs can be rewarding, there are times when seeking professional assistance is the best course of action. Whether it’s due to complexity, time constraints, or the need for specialized knowledge, consulting a mechanic can save you time, money, and stress in the long run.
Cost of Headlight Replacement
When it comes to vehicle maintenance, understanding the is crucial for every Honda Accord owner. This knowledge not only helps in budgeting but also ensures that you can make informed decisions regarding your vehicle’s safety and performance. Headlights are essential for visibility, especially during nighttime driving or adverse weather conditions.
The cost of replacing headlights can vary significantly based on several factors:
- Type of Bulb: Different types of headlight bulbs, such as halogen, LED, and HID, come with varying price points. Halogen bulbs are typically the least expensive, while LED and HID options tend to cost more due to their advanced technology and longer lifespan.
- DIY vs. Professional Services: Choosing to replace the headlight yourself can save you money on labor costs. However, if you’re not confident in your skills, hiring a professional mechanic ensures the job is done correctly, albeit at a higher price.
- Vehicle Model and Year: The specific model and year of your Honda Accord can influence the cost. Some models may require more intricate disassembly to access the headlight assembly, leading to higher labor charges.
On average, the cost for headlight replacement can range from $50 to $200 per bulb, depending on the type. Here’s a breakdown:
| Bulb Type | Average Cost (Per Bulb) | DIY Cost | Professional Installation Cost |
|---|---|---|---|
| Halogen | $20 – $50 | $20 – $50 | $50 – $100 |
| LED | $50 – $100 | $50 – $100 | $100 – $150 |
| HID | $100 – $200 | $100 – $200 | $150 – $200 |
Budgeting for headlight replacement is essential for several reasons:
- Enhanced Safety: Dimming or failing headlights can compromise your visibility on the road, increasing the risk of accidents.
- Cost-Effective Maintenance: Regularly replacing worn-out bulbs can prevent more extensive damage to your vehicle’s electrical system, saving you money in the long run.
- Improved Aesthetics: New headlights can enhance the overall look of your Honda Accord, making it more appealing.
To keep your replacement costs manageable, consider these tips:
- Shop around for the best prices on bulbs, both online and at local auto parts stores.
- Consider purchasing a headlight restoration kit if the lenses are cloudy, as this can extend the life of your existing bulbs.
- Stay informed about any recalls or warranty options that may cover headlight replacements.
In summary, understanding the costs associated with headlight replacement for your Honda Accord allows you to budget effectively and make informed decisions that prioritize safety and performance.
Frequently Asked Questions
- How do I know if my headlight needs to be replaced?
If your headlight is flickering, dim, or completely out, it’s time for a replacement. Think of it like a candle burning low—you wouldn’t want to drive in the dark with a weak light!
- Can I replace the headlight bulb myself?
Absolutely! Replacing the headlight bulb in your Honda Accord is a DIY project that many can handle. Just gather the right tools and follow the steps in the guide. It’s like baking a cake, just follow the recipe!
- What tools do I need for the replacement?
You’ll typically need a screwdriver, a socket wrench, and some gloves. These tools are your trusty sidekicks in this headlight adventure!
- Is it safe to drive with a failing headlight?
No, it’s not safe! Driving with a failing headlight can put you and others at risk. It’s like trying to navigate a dark room without a flashlight—dangerous and tricky!
- How much does it cost to replace a headlight?
The cost can vary depending on the bulb type and whether you do it yourself or hire a pro. On average, you might spend anywhere from $20 to $150. Budget wisely, just like you would for a night out!
